Make a user account via Microsoft Management Console
Posted on 22 March 2019 by Beaming SupportWhen a new member of staff starts at work you’ll need to set up a new Windows user account in order for them to log in and get to work.
In this guide we will show you how to create a new user on a Windows 10 Machine (Also compatible with other Windows versions) via the Microsoft Management Console.
Step 1
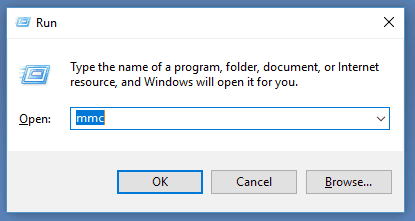
The first step will be to load up the “Run” box, this can be done by pressing the “Windows Key” and the letter “R”. The box will appear in the bottom left-hand corner of the screen, once this is displayed, you will need to enter “MMC” into the box, and this should appear as per the following screenshot.
Step 2
Now you will need to press the “OK” button on this box. It may prompt you to press “Yes” or “No” please press “Yes” in order to proceed. Then this will present you with another screen.
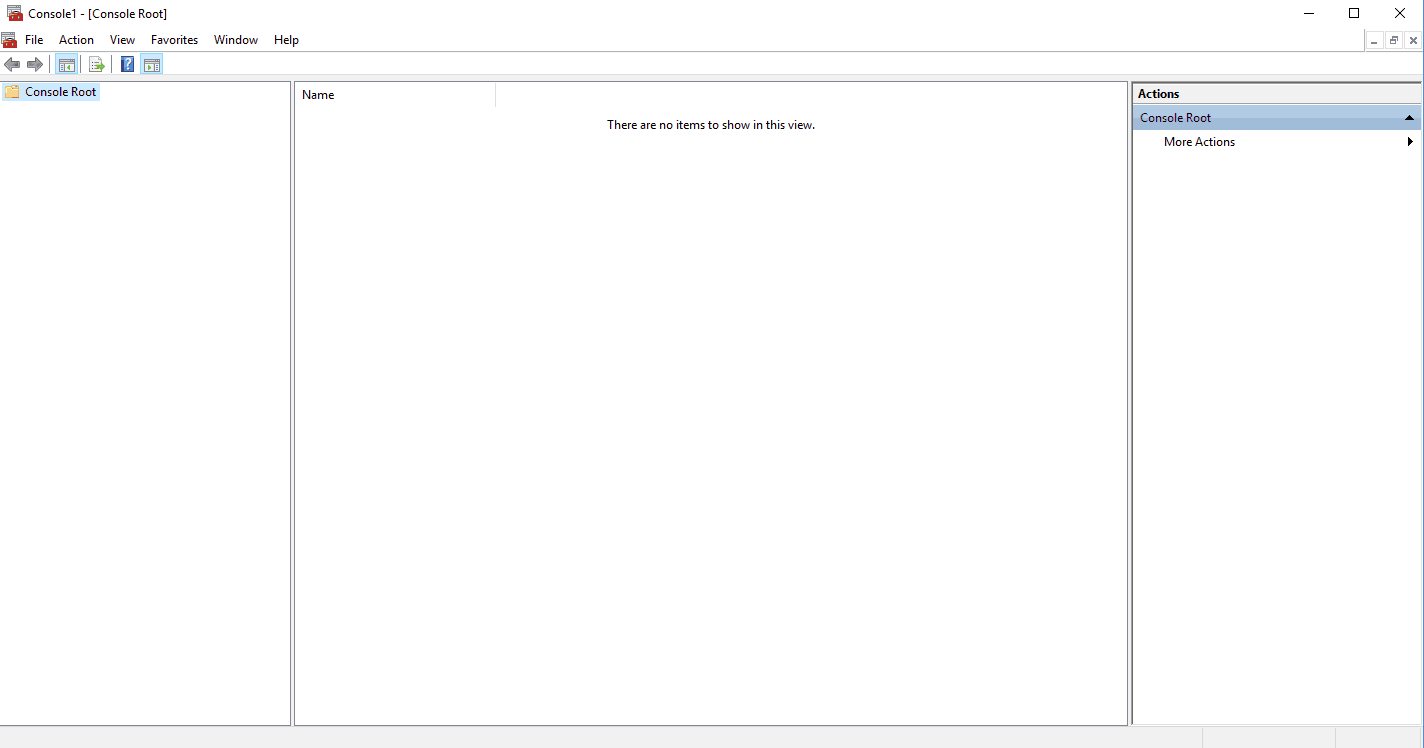
Here you will need to press the “File” option in the top left-hand corner followed by the “Add/Remove Snap-in” option.
Step 3
You should now have the following options on your screen.
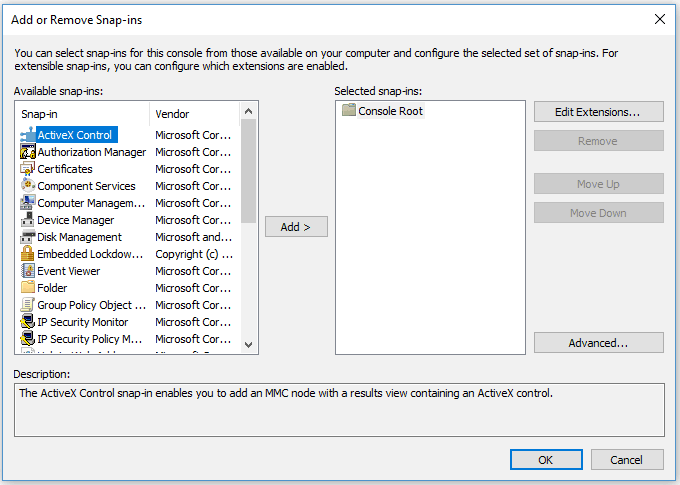
You will need to scroll down on the left-hand side until you find the option for “Local Users and Groups”. Once found, please select this option and then press the “Add >” button in the middle of the screen, this will prompt you with another box but all you need to do is press “Finish”. This will add the snap-in to the Microsoft Management Console. To finish on this screen, you will need to press “OK”.
Step 4
Now you should have a snap-in called “Local Users and Groups (Local)” on the left-hand side of the MMC screen, please click on this tab and then double-click on “Users”, This will then present you with a list of the current user accounts on the PC.
Step 5
Right-click in the blank space underneath the current user accounts and then click “New User”, this will take you to a screen that asks for the account details you would like the new account to use. This will include a username, password and also a few other details which are optional. Once you have filled in the appropriate areas, please press “Create”.
You have now created a local user account for your PC via MMC.
Step 6 (Optional for local administrator account)
You have now created a basic user account via MMC, however if you wish to make them a local administrator, please follow the below.
Double click on the user within MMC, click on the “Member Of” tab, Click “Add”. Type in “Administrators” and then click “Check Names”. At this stage it should then auto correct and put an underscore under the word “Administrators”. All you need to do now is press “OK” and then the account will become a local administrator.
Found this useful?
Our team share their how-tos, trouble shooting guides and tips for getting the best from your business connectivity in a monthly email round up.