ESXi Installation
Posted on 3 July 2019 by Beaming SupportESXi is a hypervisor that uses a minimal amount of resources to run.
You would have all cores and all memory available to assign to Virtual Machines, as well as all hard drive spare. Also, ESXi can be run from a 16GB or larger USB stick. Compare this to Windows, which usually requires at least one entire processor, 4GB or memory and 40GB of disk space.
In order to use ESXi, you will need to download an installation ISO, either from VMWare directly or from your server’s manufacturer (Dell, HP, etc.).
Once you have the ISO, use Rufus to make a bootable USB stick out of it, then plug it in to your server. Boot the USB stick and the installation will begin. This will take a few minutes and you will see different loading screens appear.
When prompted, press Enter to continue, accept the EULA with F11 and you will be presented with the select a disk screen (below).
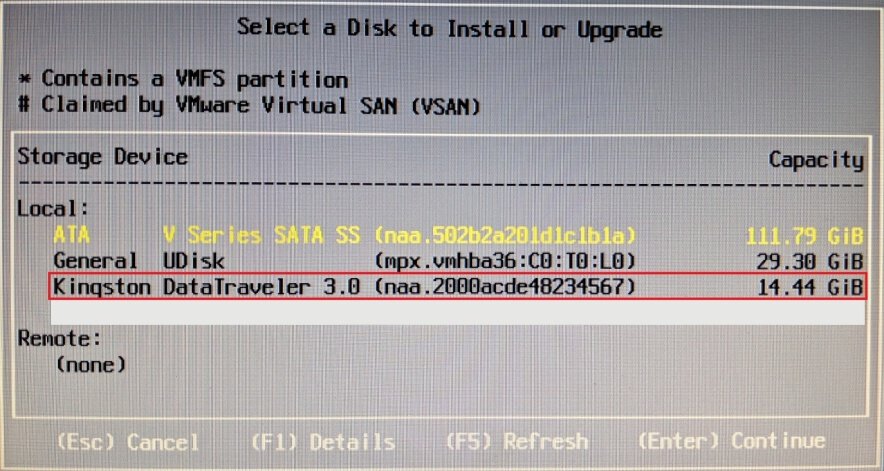
At this point, you can select you storage device, I am going to install to a 16GB internal USB stick, as highlighted above. Note, you can actually install to the same USB stick that has your installer on, as the install files are in RAM.
You will see a warning about the device already containing a partition, press OK to continue. Choose your language and when prompted type your root password.
You will most likely receive a warning about your processor being incompatible in the future, this can be disregarded by pressing enter. Press F11 to install to your chosen install device, ESXi will then begin to install.

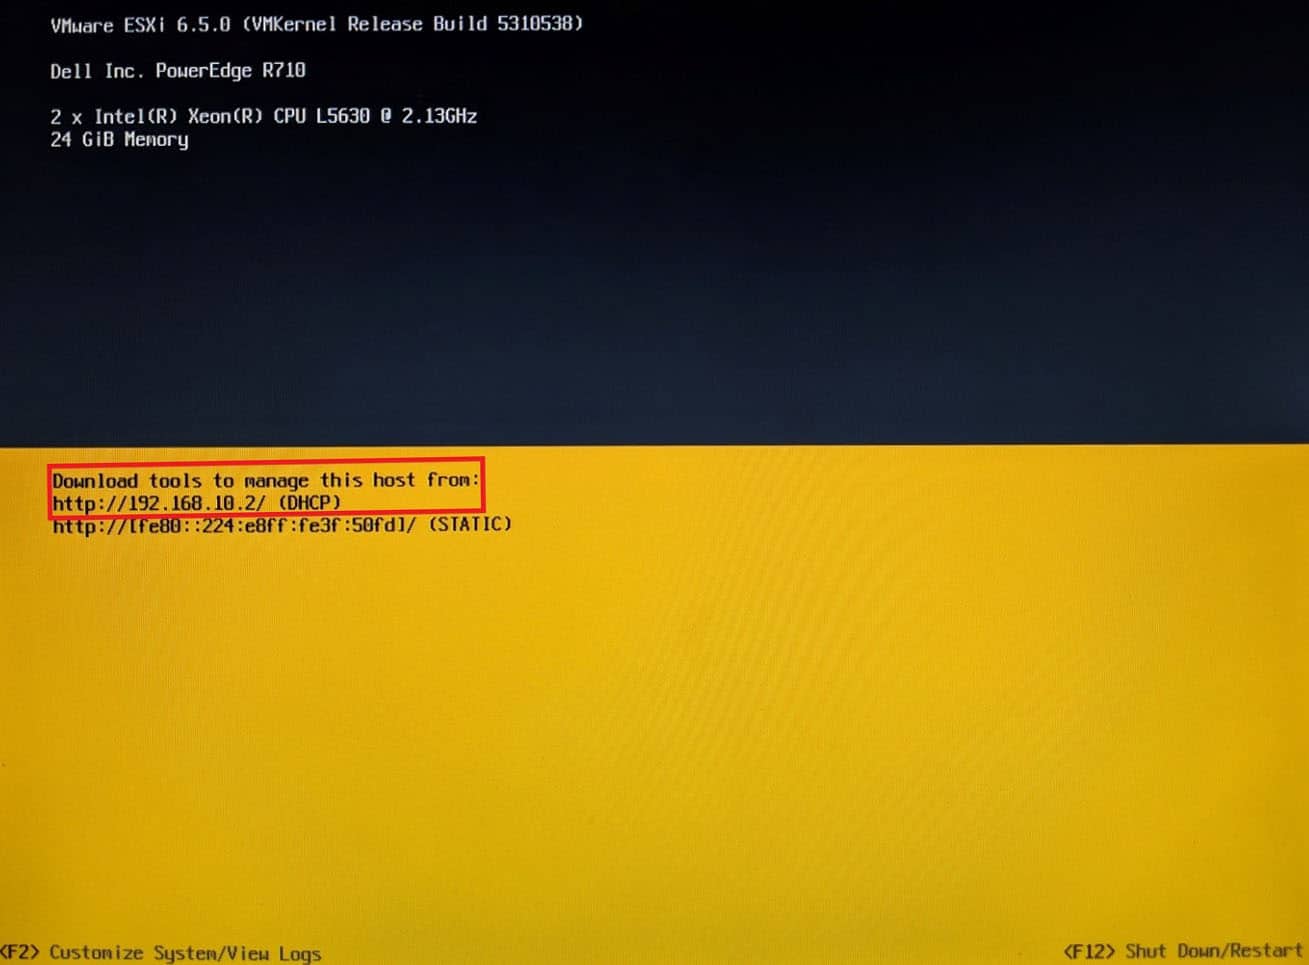
You will then be presented with the default ESXi screen. From here, you can leave this screen and configure ESXi using a web browser on the same network, as per part 3 of this guide (your IP address will be as below) or you can make changes to the network as per part 2 of this guide.