ESXi Configuration
Posted on 3 July 2019 by Beaming Support This is a three part guide.
Go back to part one: ESXi installation?
Now we can begin to setup ESXi for access to the configuration.
Following on from part 1, please press F2 on the default screen to access the options (as below).
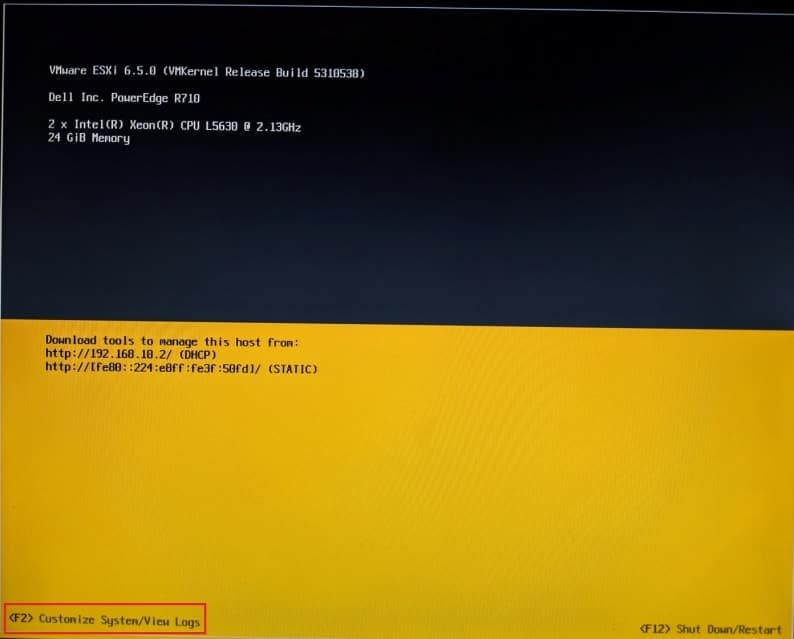
You will need to authenticate using Root and the password you set previously.
Choose Configure Management Network in the options (you can see the current config on the right). Then choose IPv4 Configuration, where you can change the settings. Select the Set Static IPv4 Address and Network Configuration option and go to each line in order to change the IP Address, Subnet Mask and Default Gateway.
Press Enter to finish the IPv4 configuration and highlight DNS Configuration. Change your DNS server(s) to your liking and add a hostname if you wish.
Press Esc to exit network configuration, then you can use your newly setup IP to access the configuration site.
From a device on the same LAN, go to the IP address in a browser to be shown the login screen.
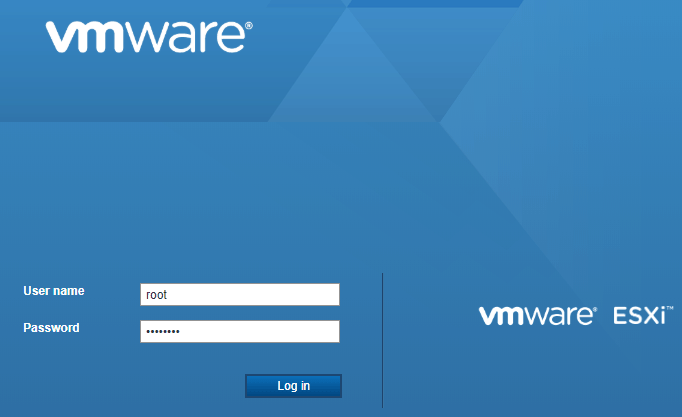
Login with the username Root and the password you setup before. You will now see the ESXi Dashboard as below.
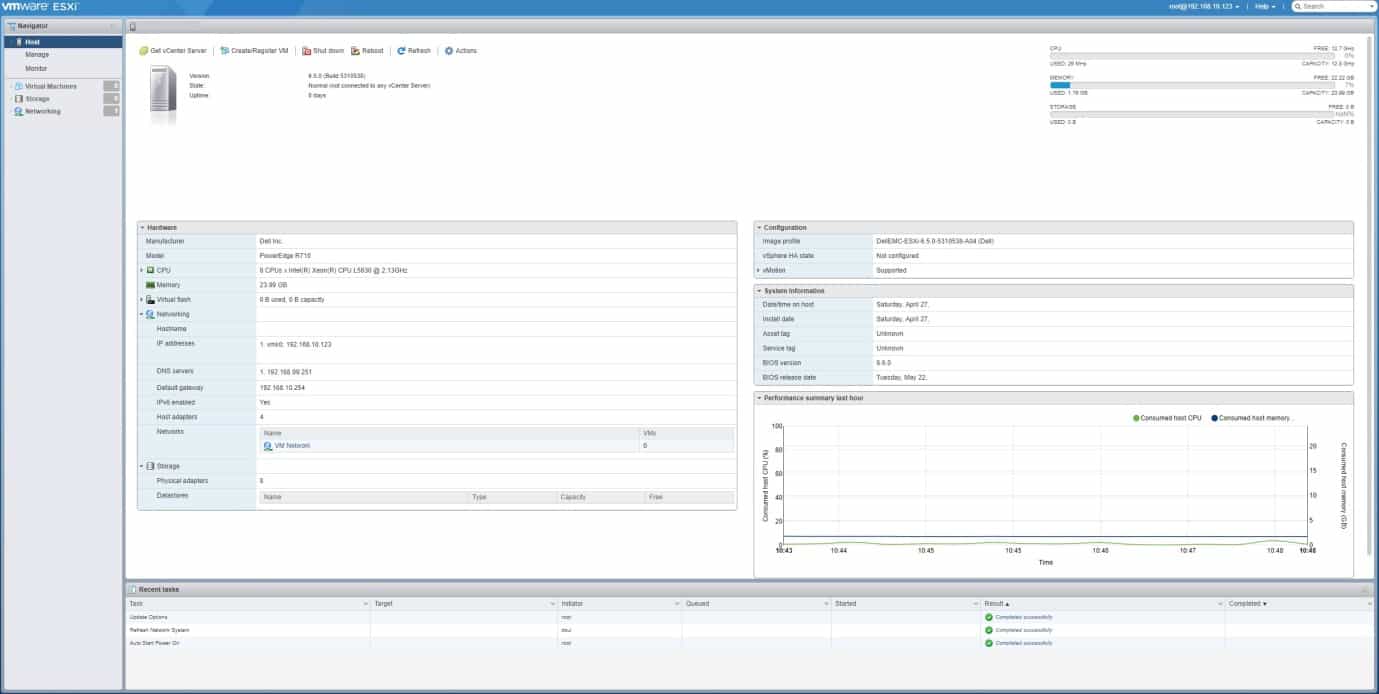
There are sections on hardware, Configuration version, System Information and Performance over the last hour. At the bottom, there is a Recent Tasks section that will show any changes you have made.
Check part 3 for how to configure Storage and your first Virtual machine.