Using ESXi to set up a Virtual Machine
Posted on 3 July 2019 by Beaming Support This is a three part guide
Catch up with Part one: ESXi Installation and Part two: ESXi Configuration
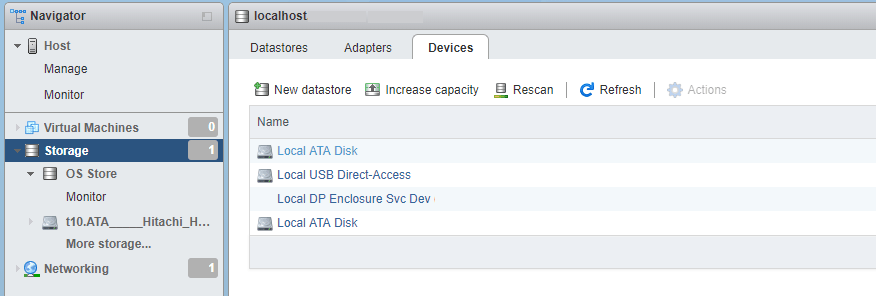
Login to the ESXi web client and click on Storage, so we can create a Datastore.
Go to Datastores, New Datastore to bring up the new Datastore window.
Give your Datastore a name -> select the drive to make your Datastore on -> choose Full Disk and then hit finish. Now we have a Datastore, we need to copy our operating system ISO to it.
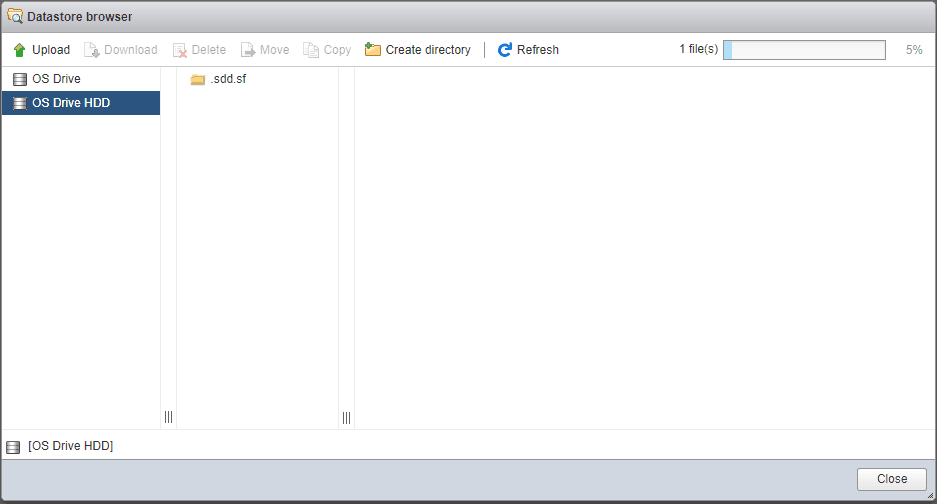
Select storage -> Datastores -> highlight the newly made Datastore and select Datastore browse as below. Select Upload and browse to a shared directory that contains an ISO for your operating system. This will begin uploading the ISO and will go in to the recent events at the bottom of the page with a status bar.
We are now ready to create our first Virtual Machine.
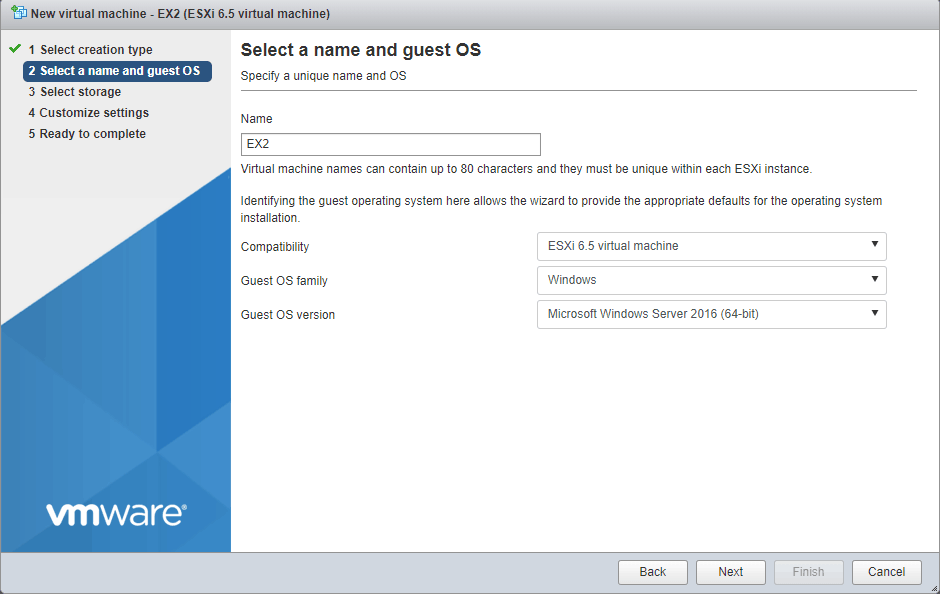
Select Virtual Machines -> create/ register VMs -> Create new VM -> next. Choose a name for your VM and choose the operating system from the list. Hit next.
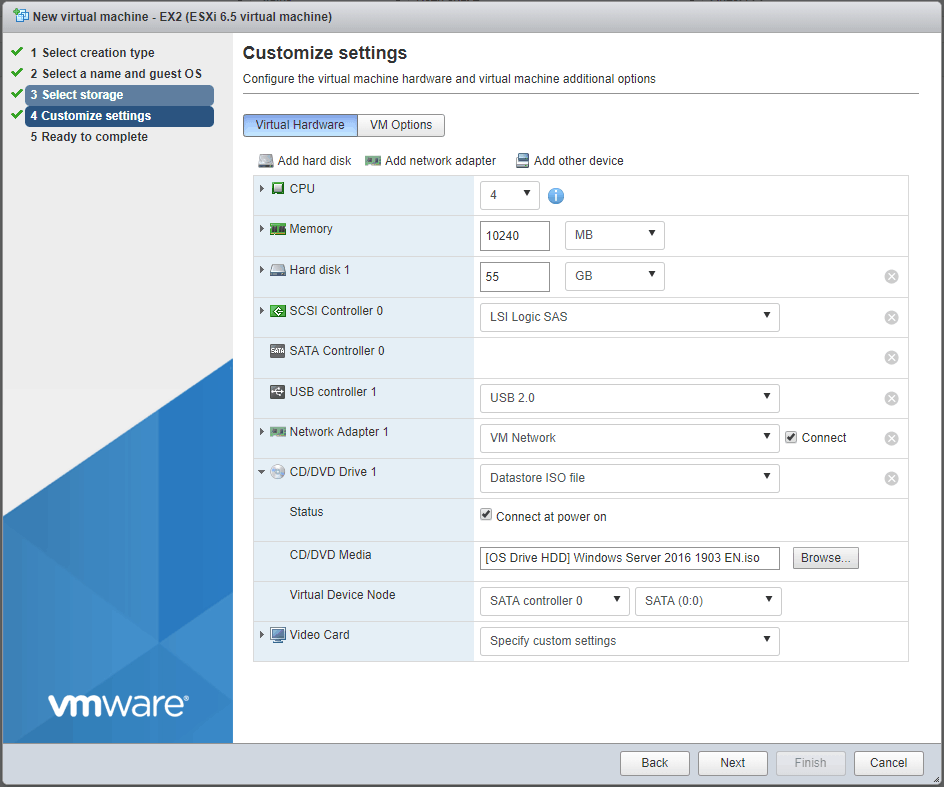
Select your storage from available Datastores and hit next. On Customise Settings you can change CPU, memory, storage and other options. To choose you ISO, click browse on the CD/DVD Media option, select ‘datastore iso file’ and find your ISO in the Datastore. Click next to move to the summary screen, then finish to create the virtual machine.
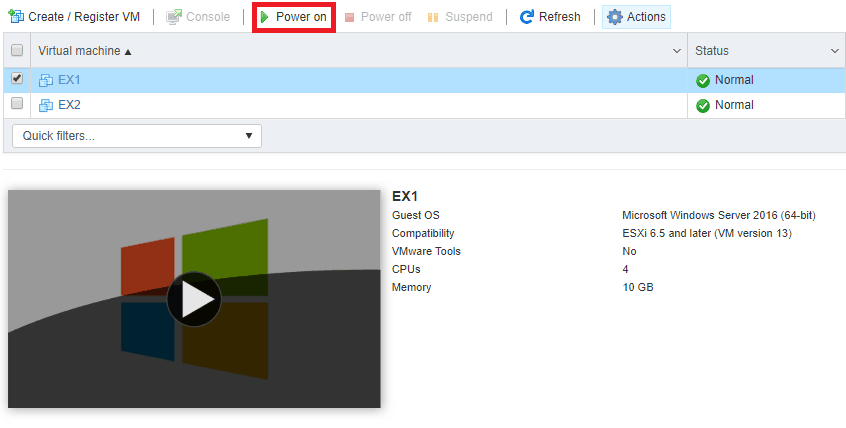
To start your VM, click Virtual Machines, highlight your new server and select Power On.
The small window will show you the VM’s current display. You can double click this to make it larger or pull the window out entirely.
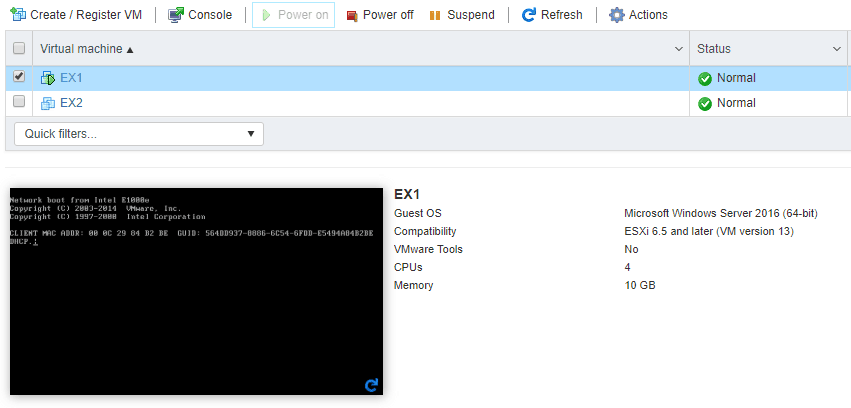
You will use this screen to install your operating system and set up networking. Once you have given the OS and IP address, you can RDP, Telnet or SSH to it as you would a physical server.
You can follow this part to install each server that you need for your setup.
One point to note on licensing is that ESXi will run in ‘evaluation mode’ for 60 days. You need to download a free licence from VMWare that will give you the following allowances. To do this, make an account on their website, look for ESXi download and you should see a link that will create a licence key to activate ‘free mode’.
Free mode limitations:
- No support
- Free ESXi cannot be added to a vCenter Server
- 2 physical CPUs
- Unlimited cores per CPU
- Unlimited physical Memory
- 8 vCPU per VM
For a home lab or small charity / companies, these limitations are fine, but for larger scale deployments we recommend looking into fully licensing the product.